My girl loves Minnie so we thought of celebrating her 2nd birthday in Minnie theme…I have searched for some Minnie tutu frocks online but they are expensive! So I decided to make one myself and that is the best decision… I’m very much satisfied with the end result as it is more beautiful than the ones I saw online 😃 So today I wanted to share this easy method which you can use to make any other designs you like…The best thing is you don’t need any sewing!
Things you need:
1. 6 inch Red tutu fabric roll
2. White tutu crochet tube top
3. Shoe box or any cardboard box
4. Black and white felt sheets
5. Red polka dot ribbon
6. Scissors
7. Glue gun and glue sticks
Procedure:
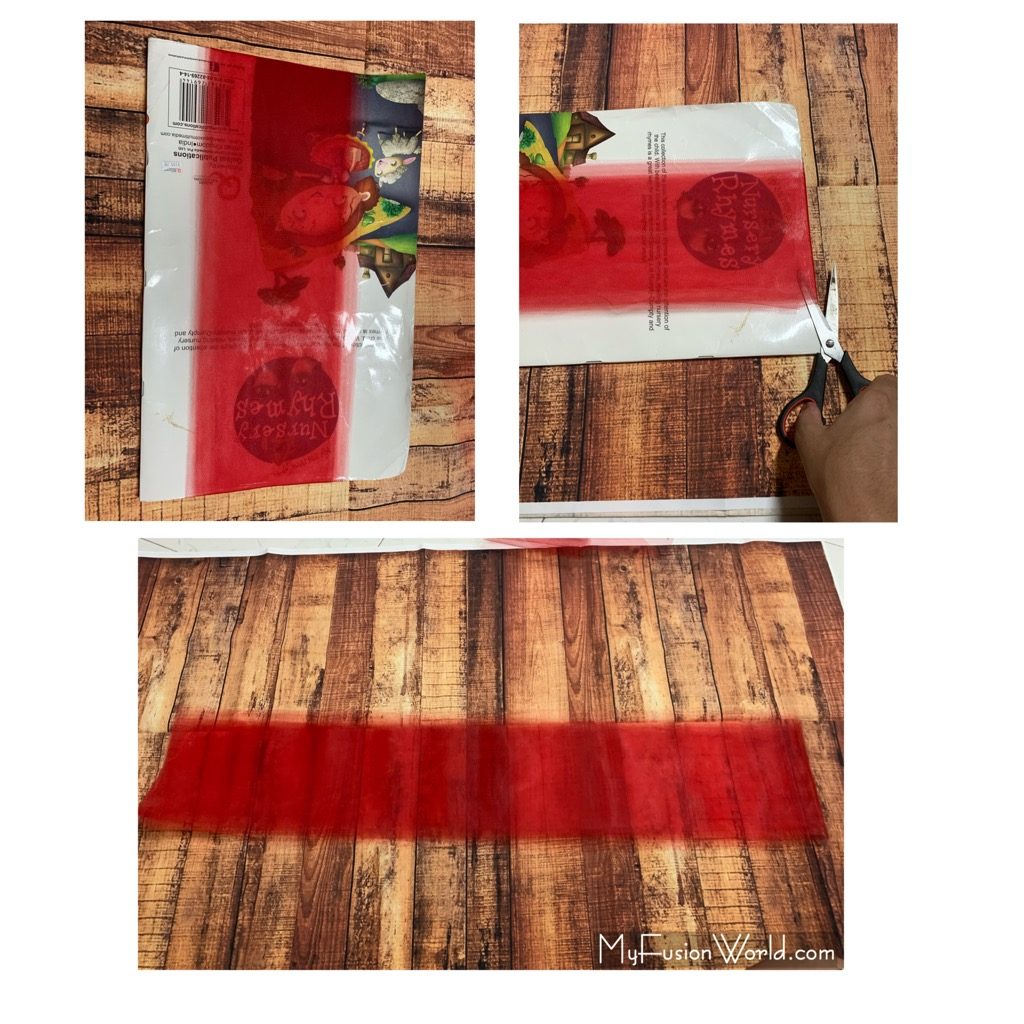
1. Take a book or a piece of wood that is around 18 inch ( adjust this length according to the length of the frock).
2. Wrap the tutu fabric around it for 18-20 times and using scissors, cut on one edge. Now you will get 36 inch fabric pieces. Repeat the same and the keep the pieces aside.
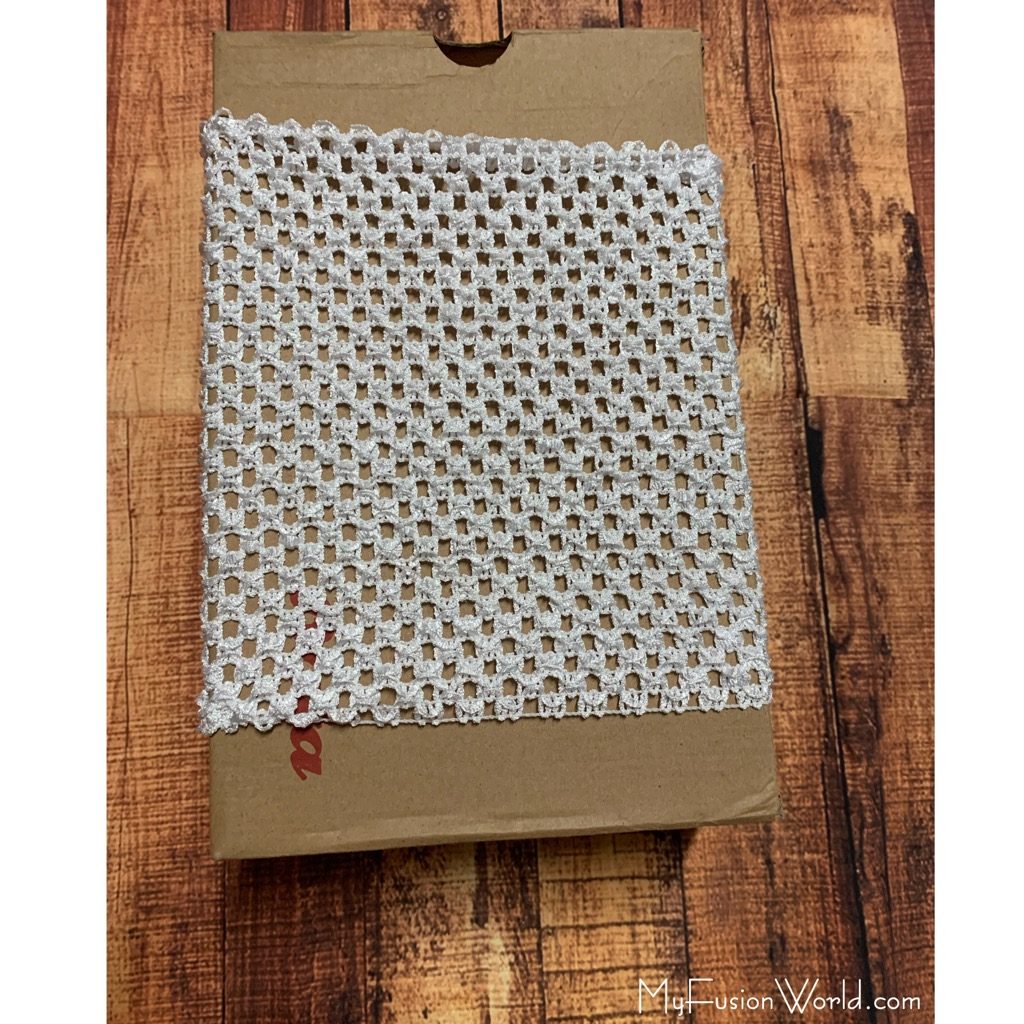
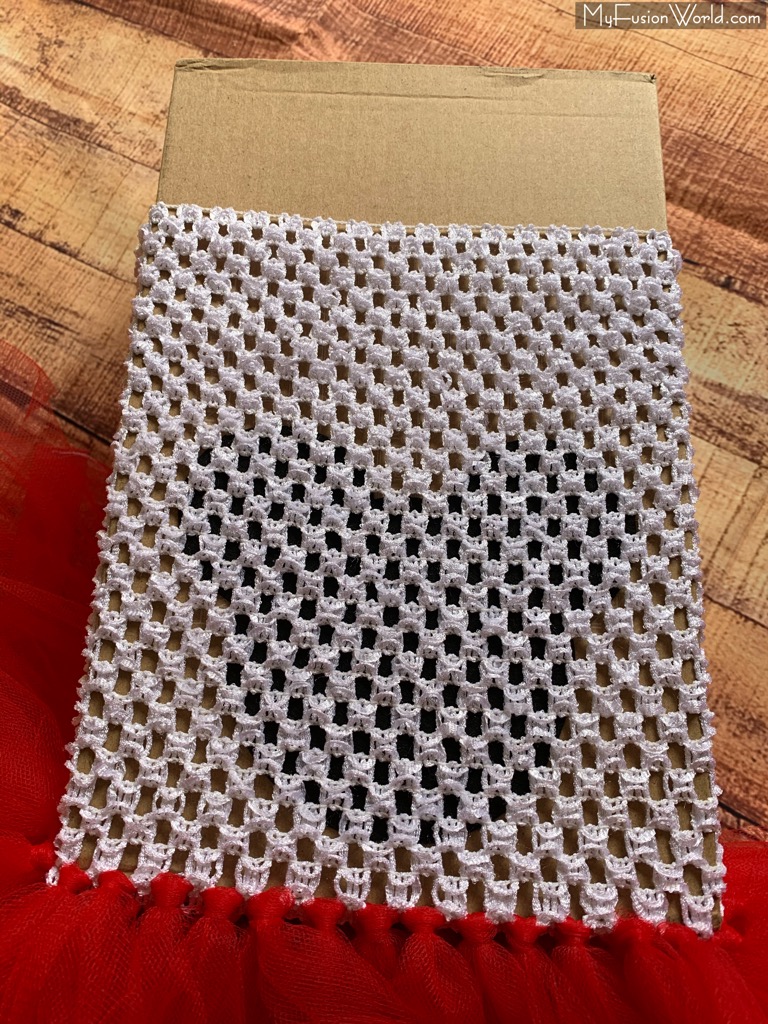
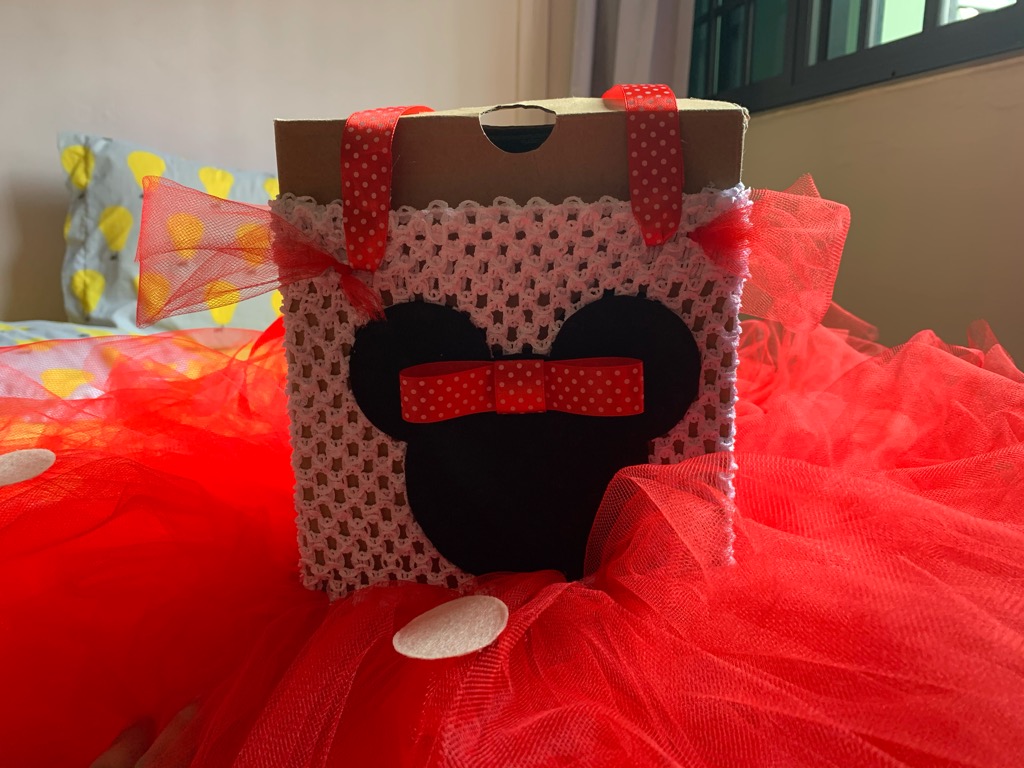
3. Put the tutu crochet tube top to the card board box.
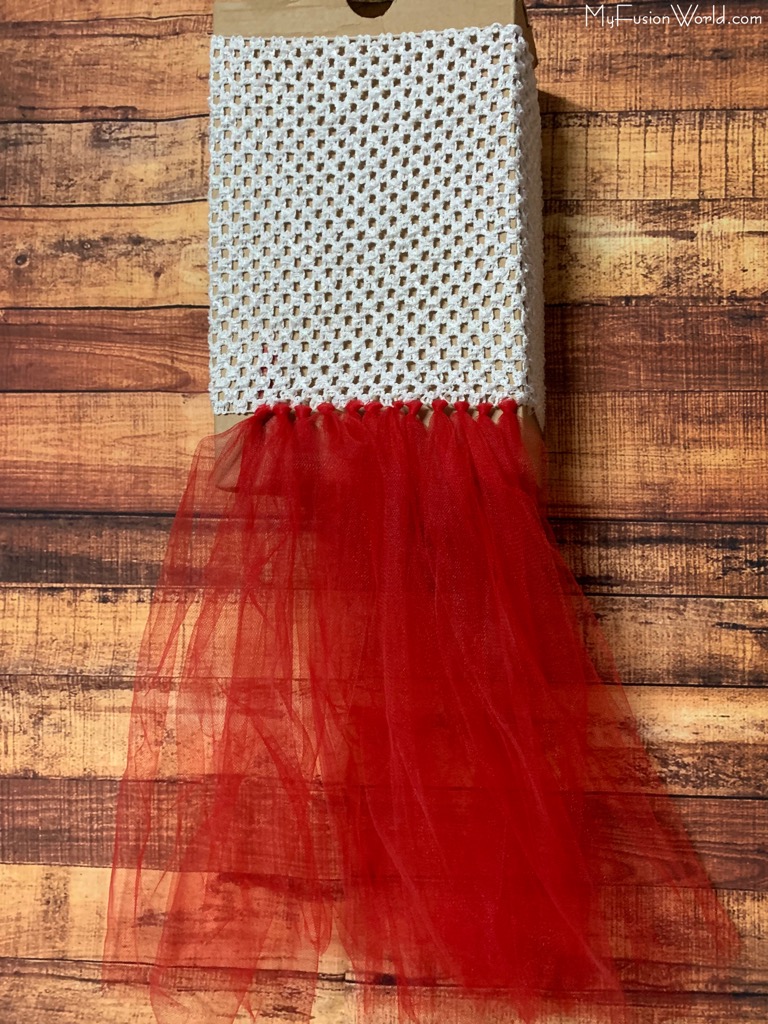
4. Take one 36 inch piece and fold it into half. Insert the folded end into a hole from the top and using your fingers, slightly open folded end and pull the open end into it such that it forms a knot.
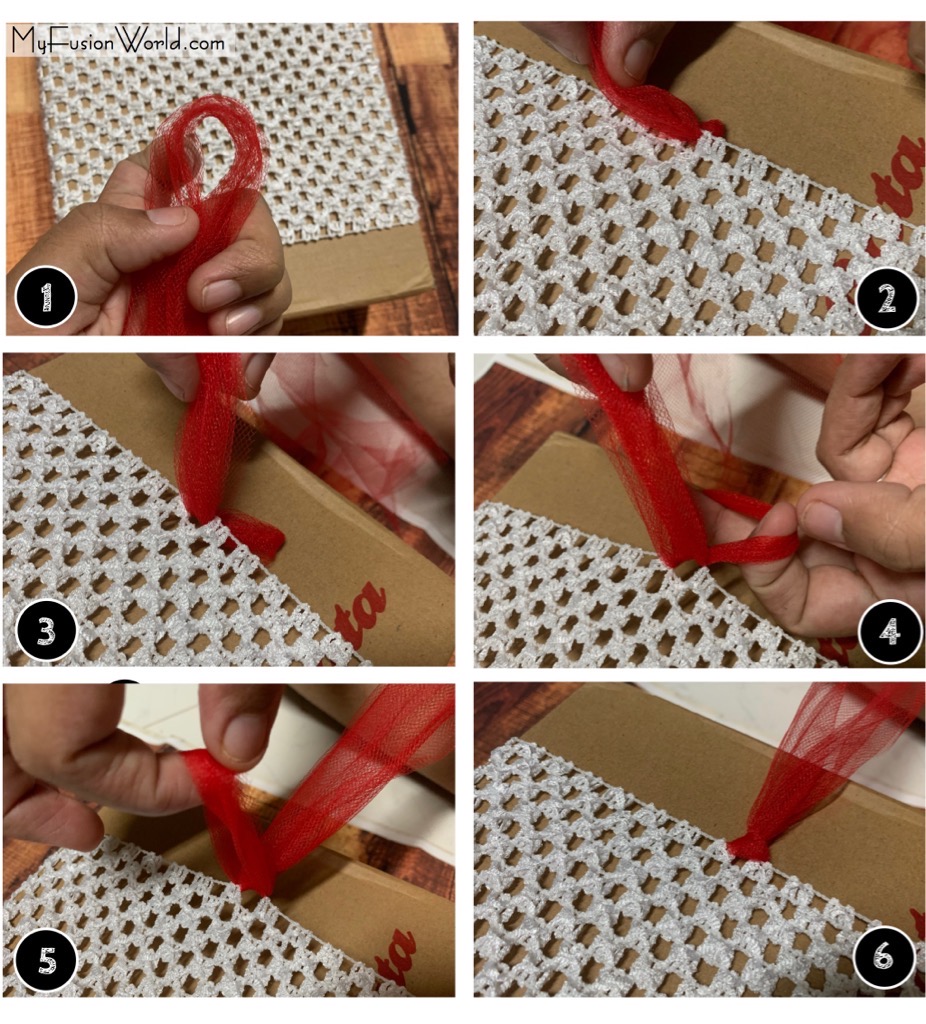
5. Repeat the same with all the other gaps in the bottom line.
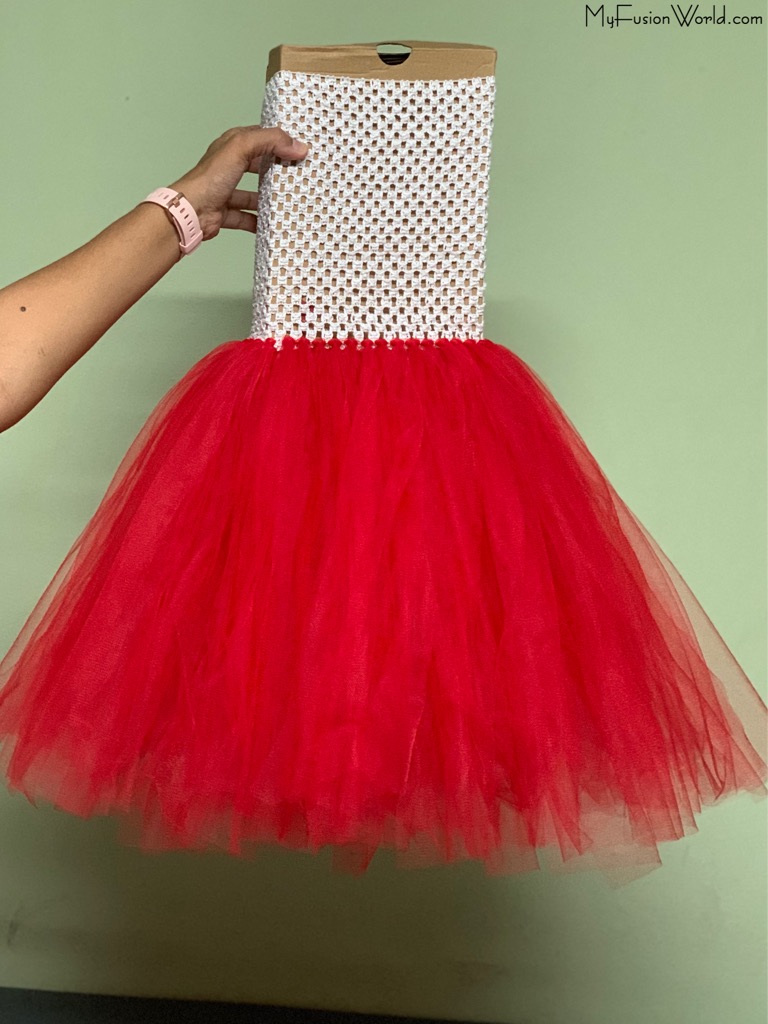
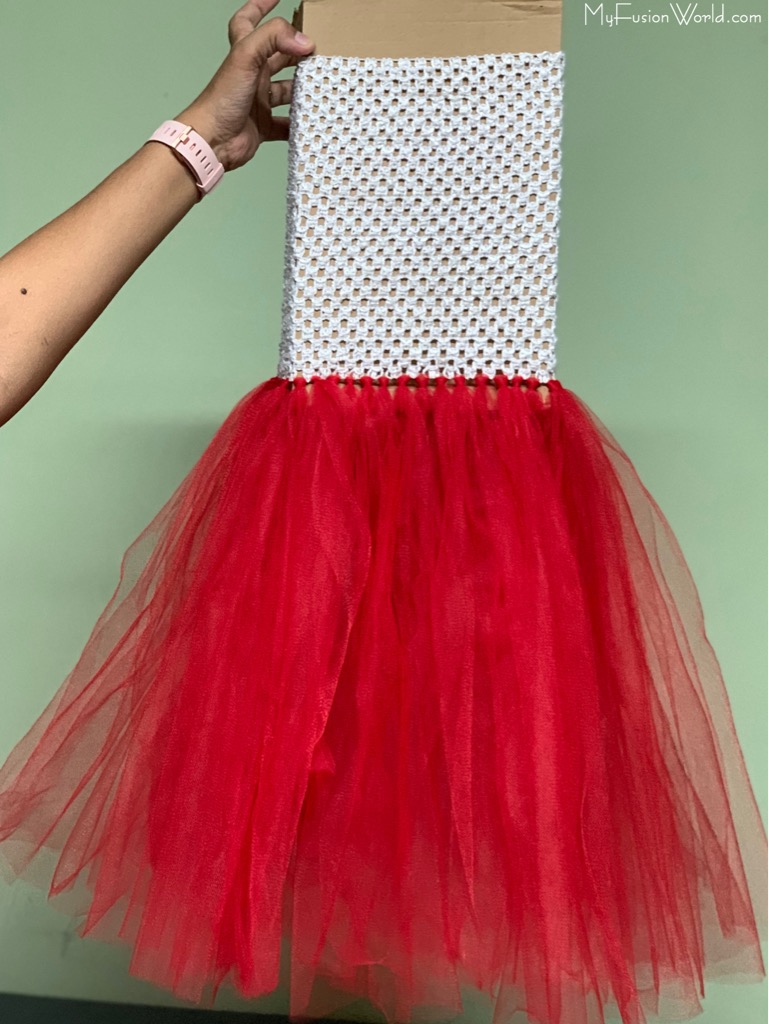
6. This is how it looks like after completion of one layer. Now leave the next line and repeat the same in the third line. Insert from the third line( gap just above the previous knot)and pull out through the second line hole.
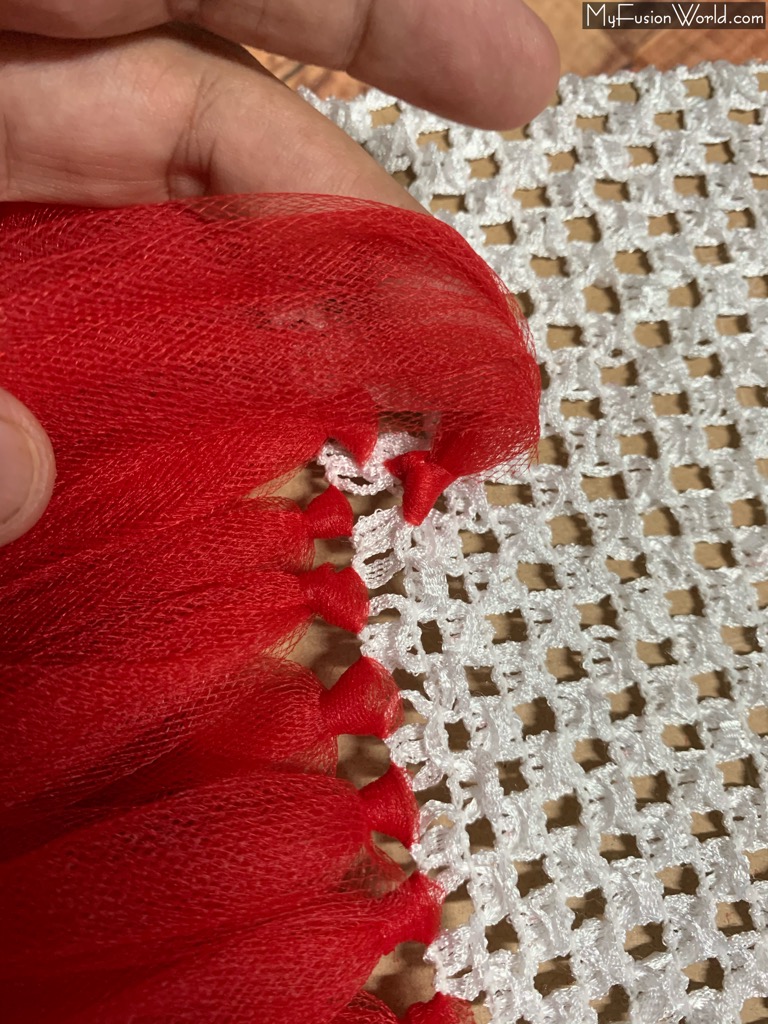
7. Repeat it for the entire third line. If you want more fluffier gown, you can go for another layer . I made only 2 layers here.
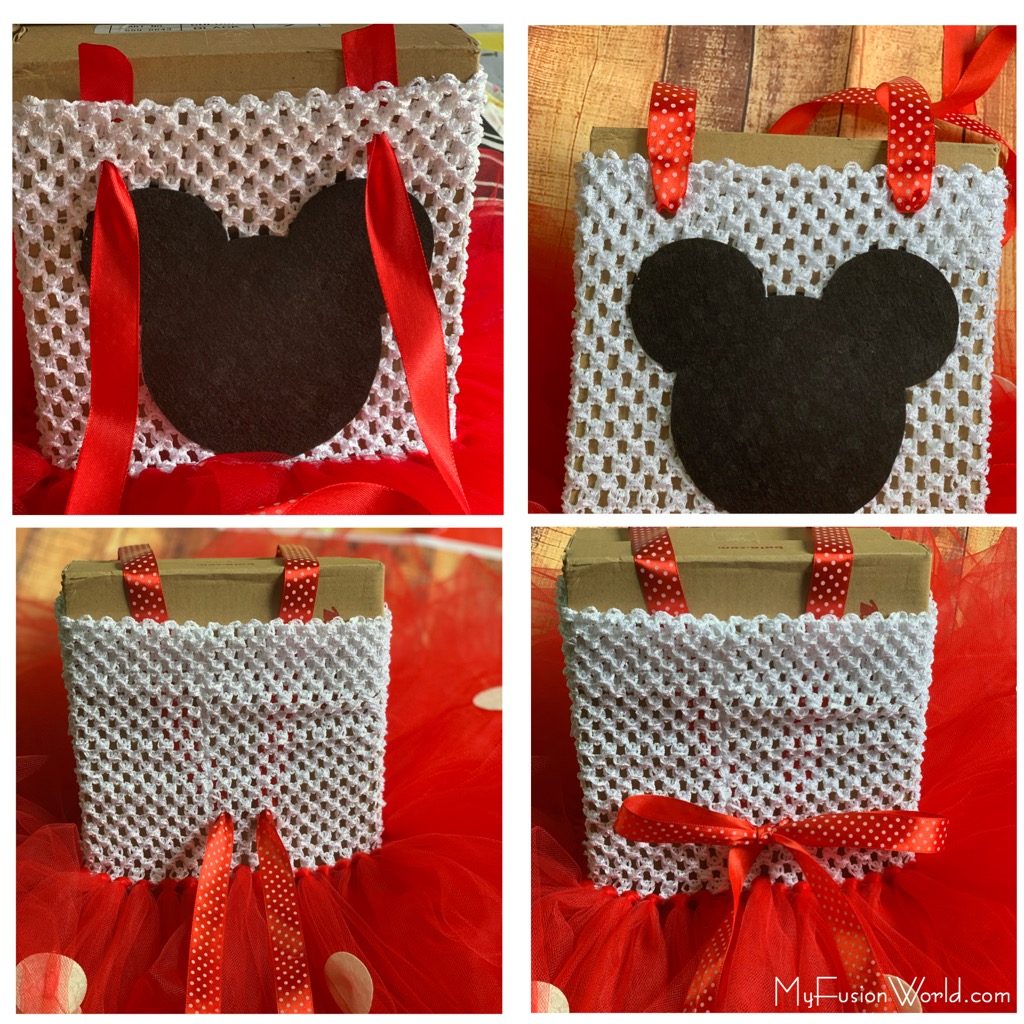
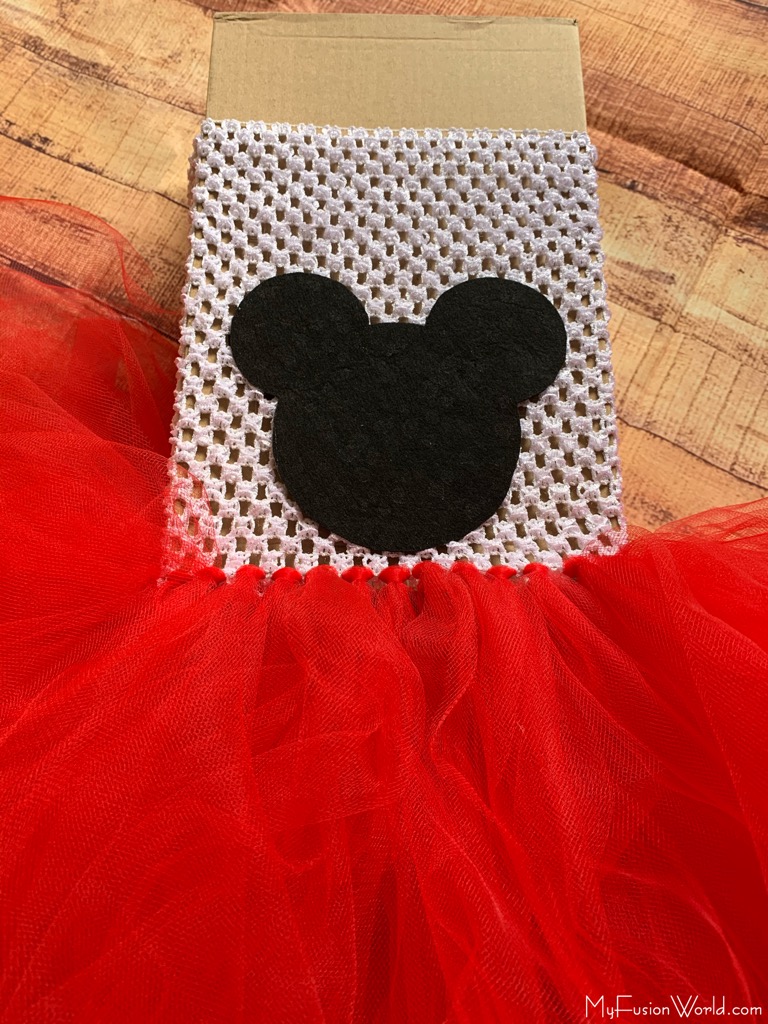
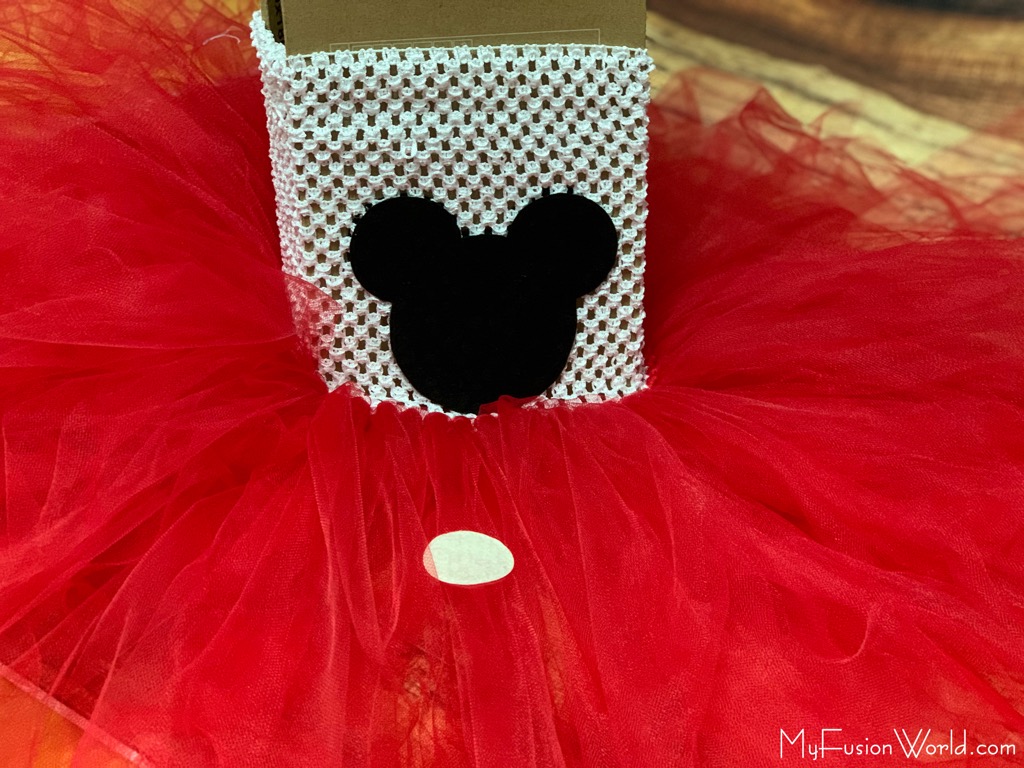
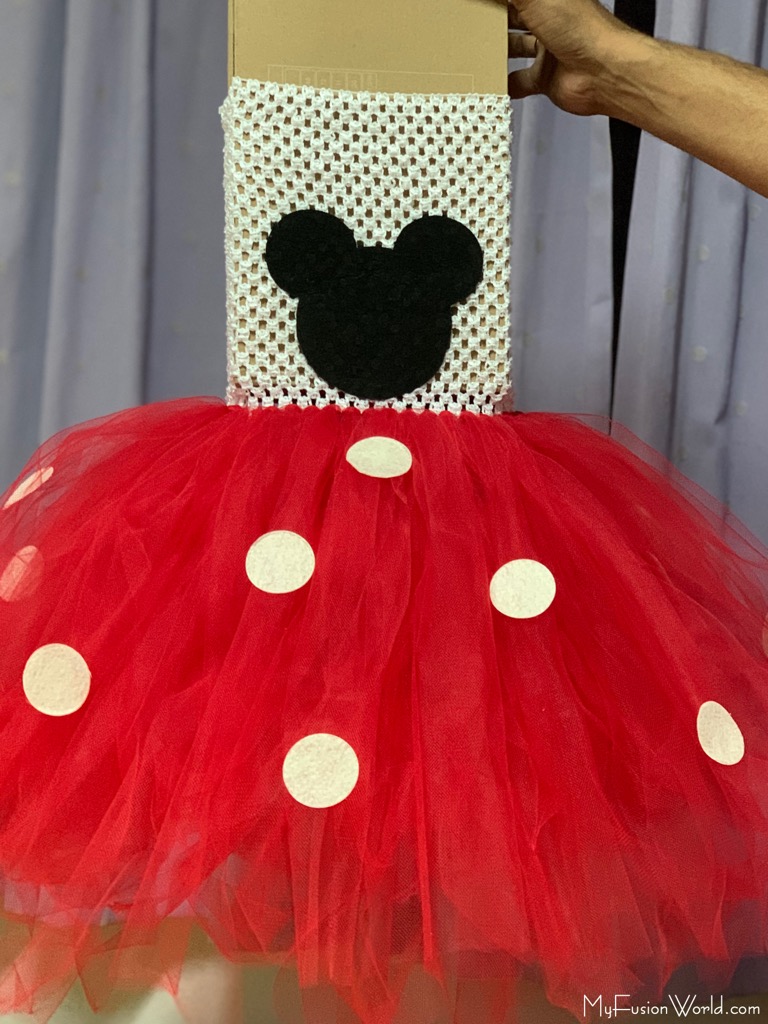
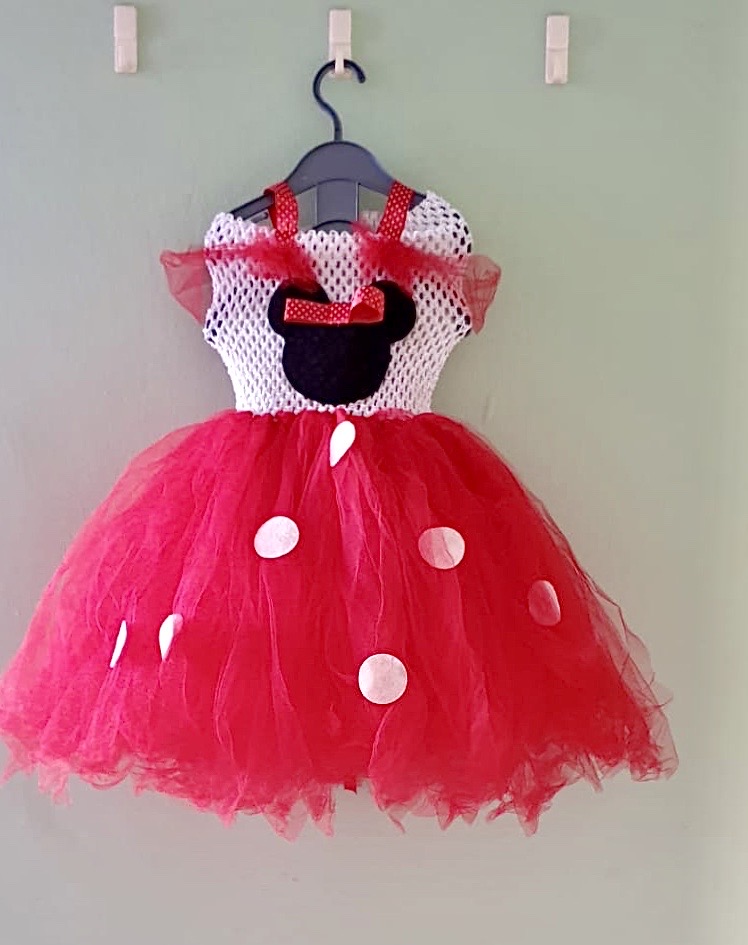
8. Cut two pieces of black felt in the shape of Minnie head. Put one below the tutu tube and check the correct position. Using a glue gun, stick the other Minnie head into the lower one.
9. Make circles from white felt and attach them to the tutu fabric using glue gun.
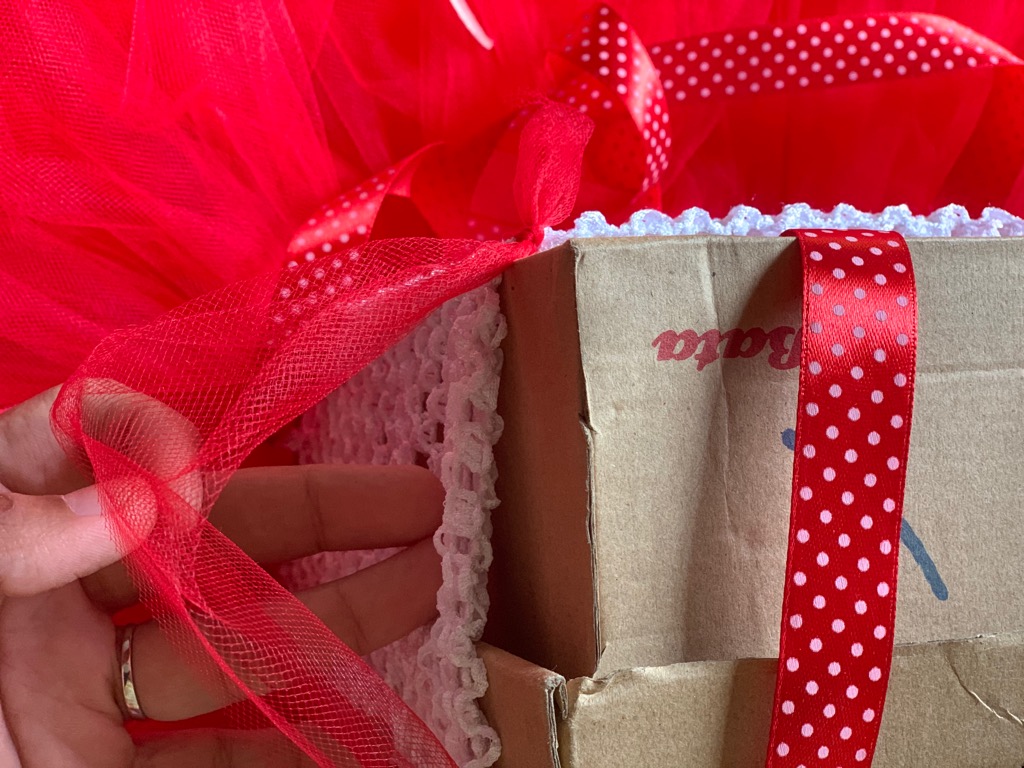
10. Insert the polka dot ribbon ( around 50 cm length)from the inside on the front side. Pull a little bit and add a little glue and fold the ribbon onto it so that it’s stuck.
11. Now bring the ribbon back and pull it outside ( leave some space below). Repeat the same on the other side and make a bow knot. This can be used in adjusting the shoulders.
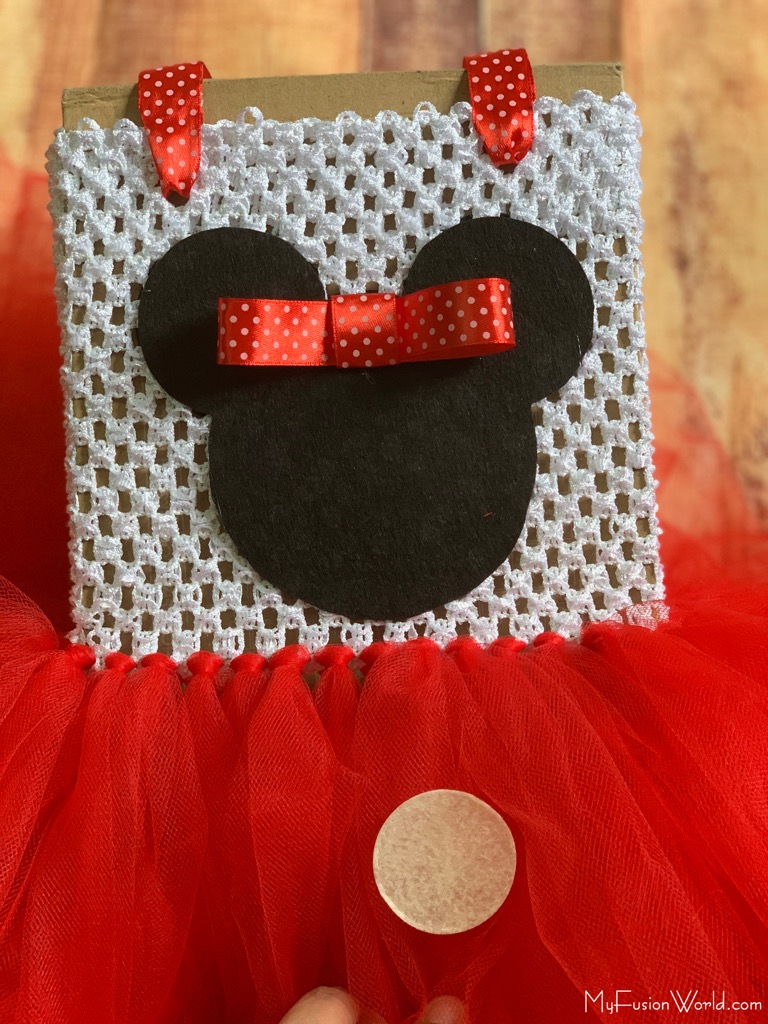
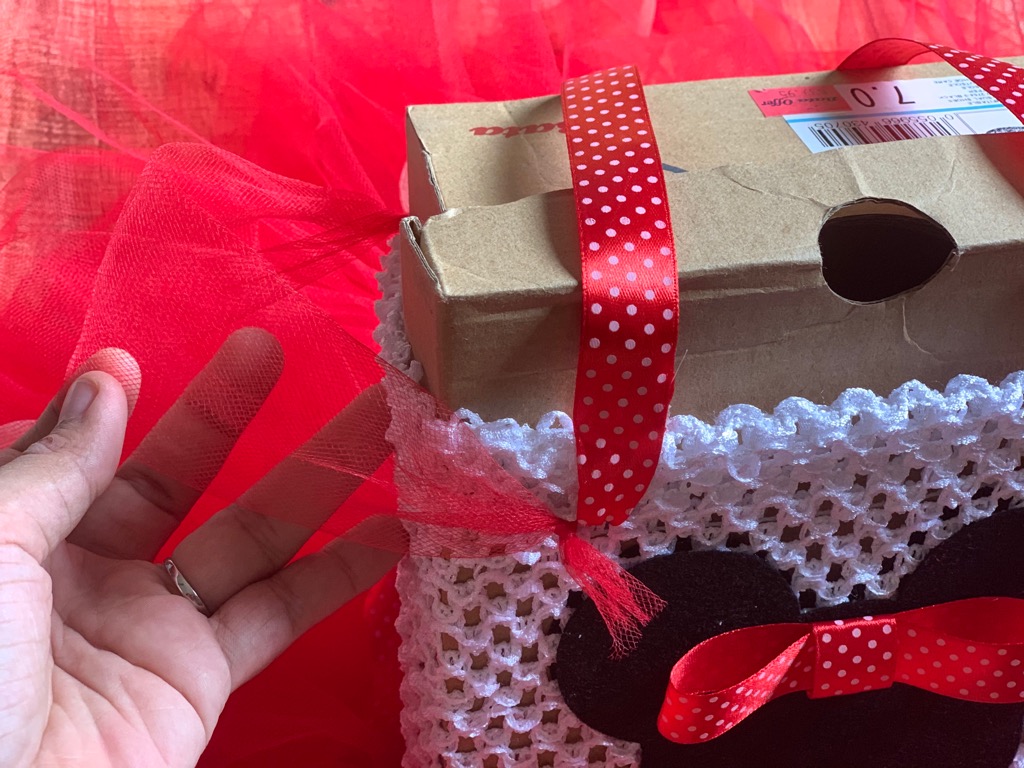
12. Using polka dot satin ribbon, make a bow shape and stick it on the Minnie head.
13. Cut a small piece of tutu fabric and tie a knot near the satin ribbon at the front and back as shown in the pic . This acts as sleeve.Repeat the same on the other side.
14. Cut 4-5 small tutu fabric pieces ( around 8cm) and place on one another and tie at the centre with a thread. Stick it onto the satin ribbon as shown.
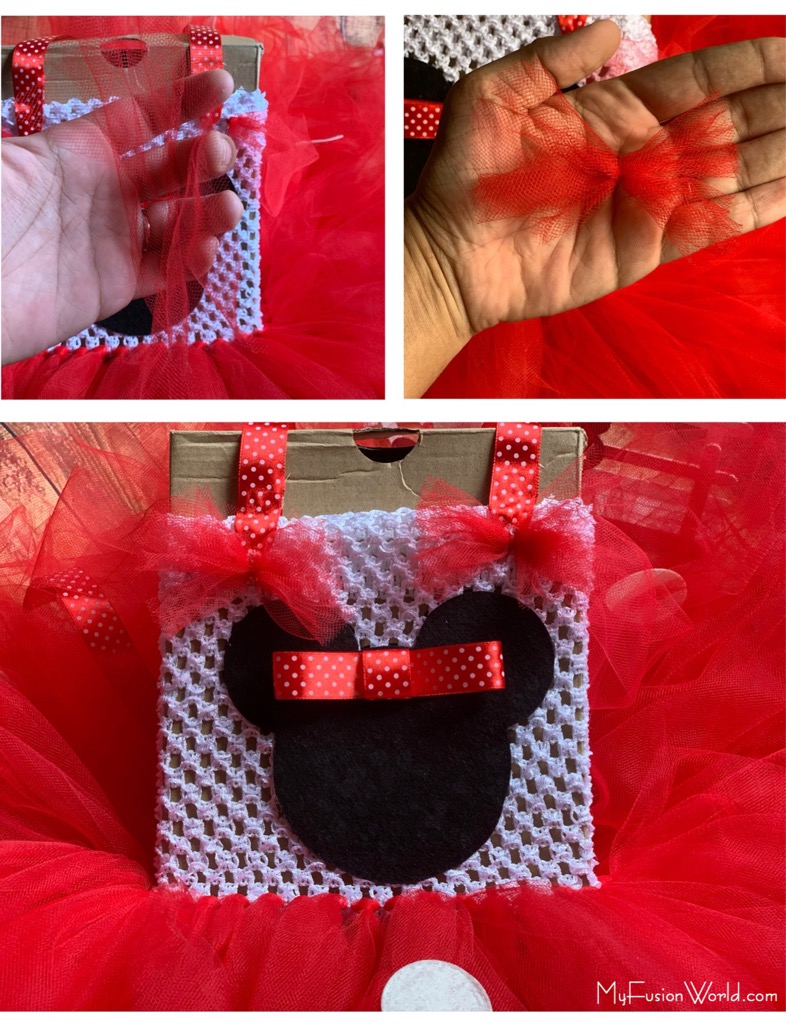
15. It’s done! Just adjust the tangled net fabric straight just by passing your fingers and moving down. The fluffy Minnie dress is ready!
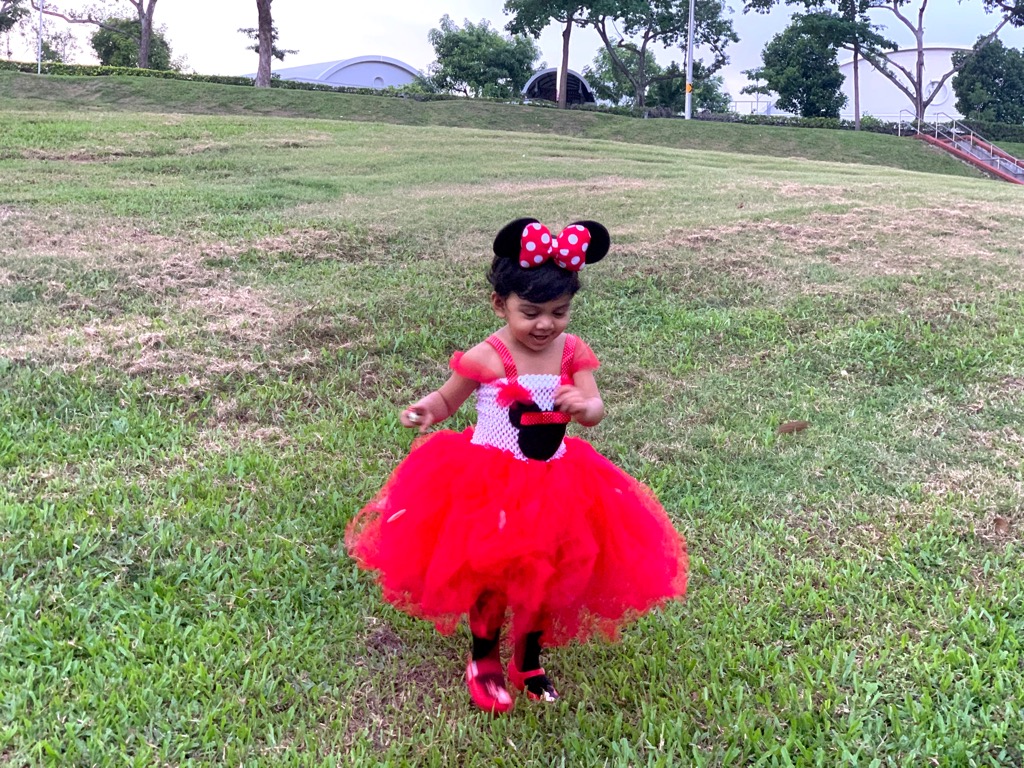
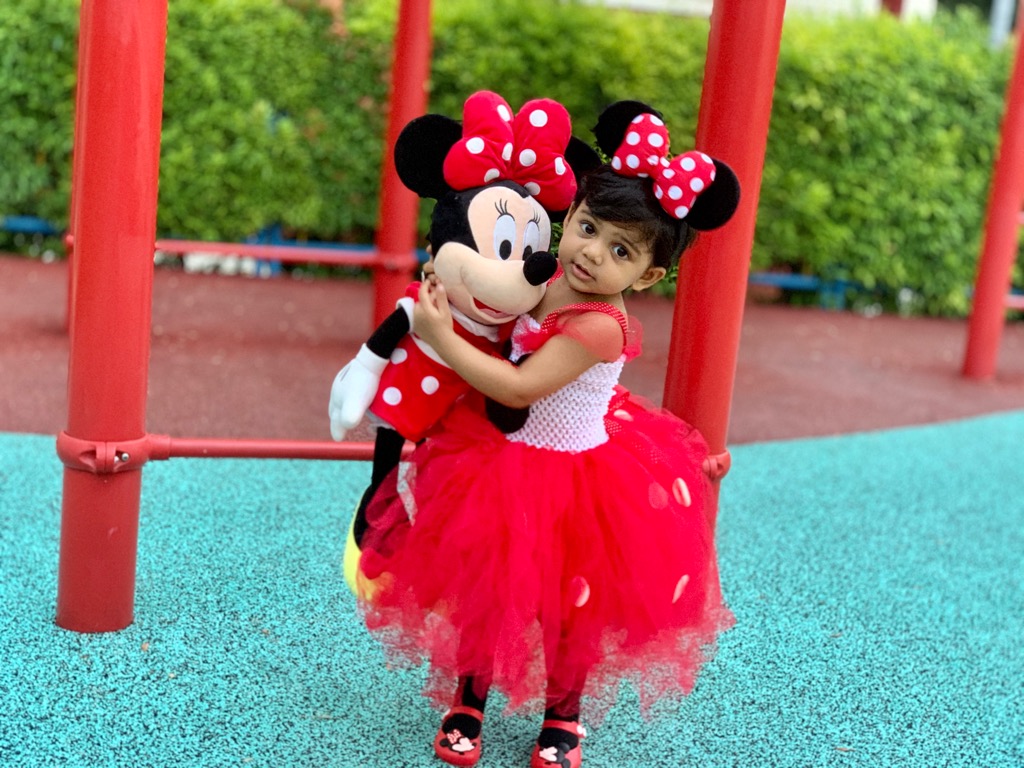
Look at my Minnie model 😍
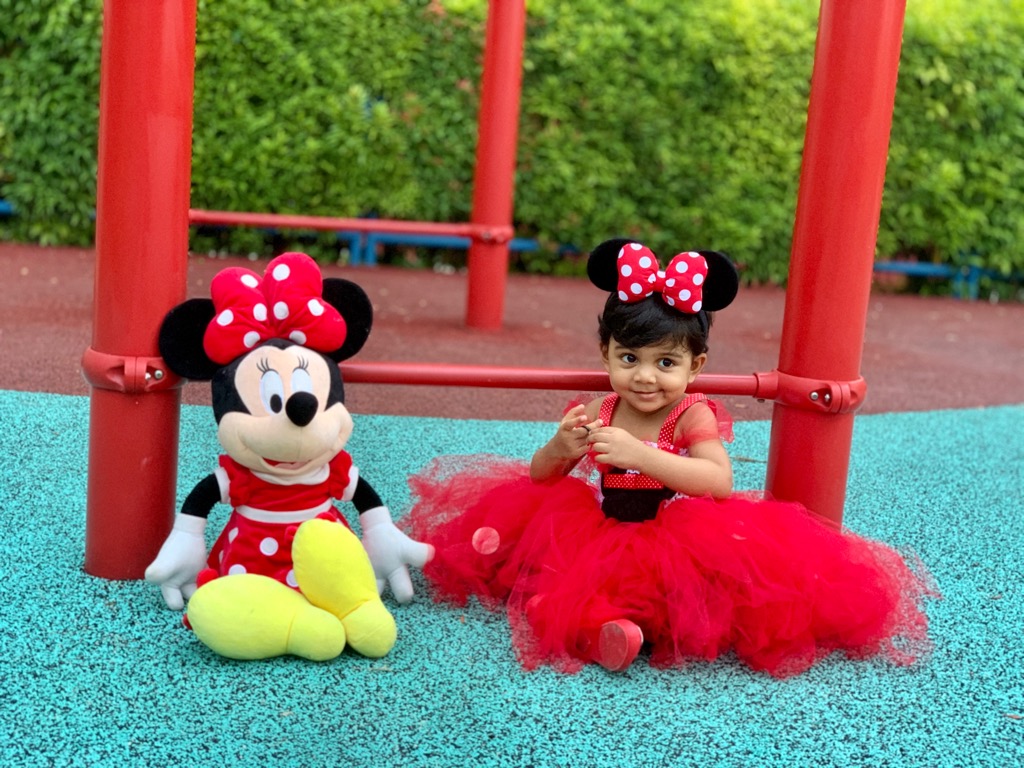
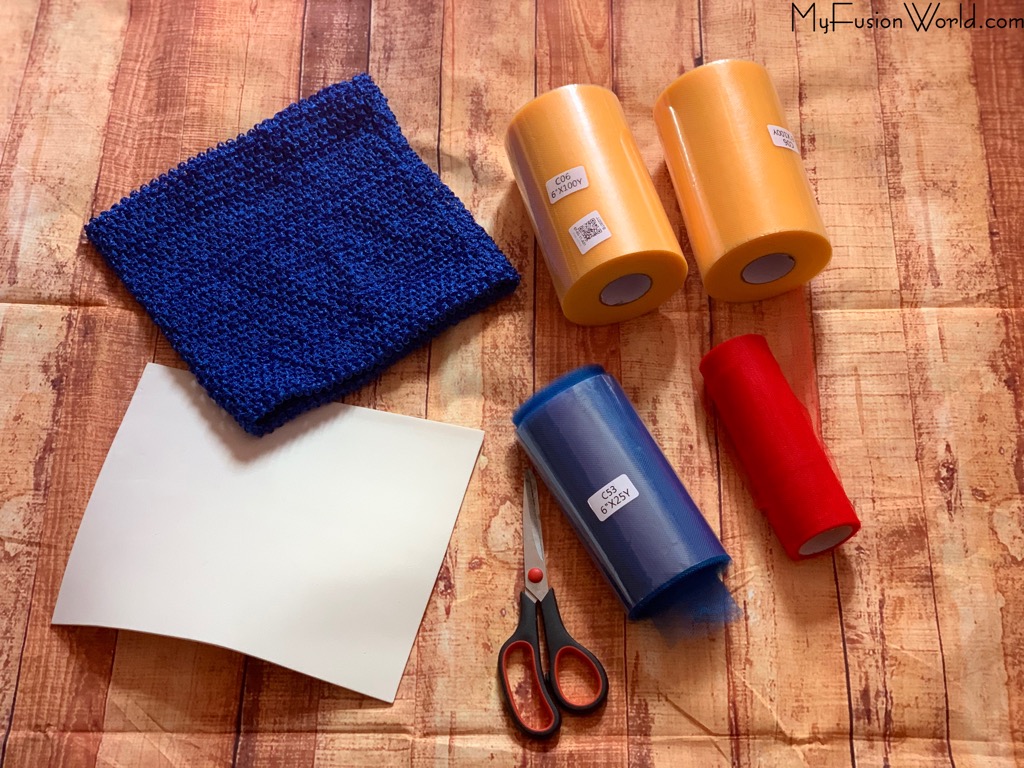
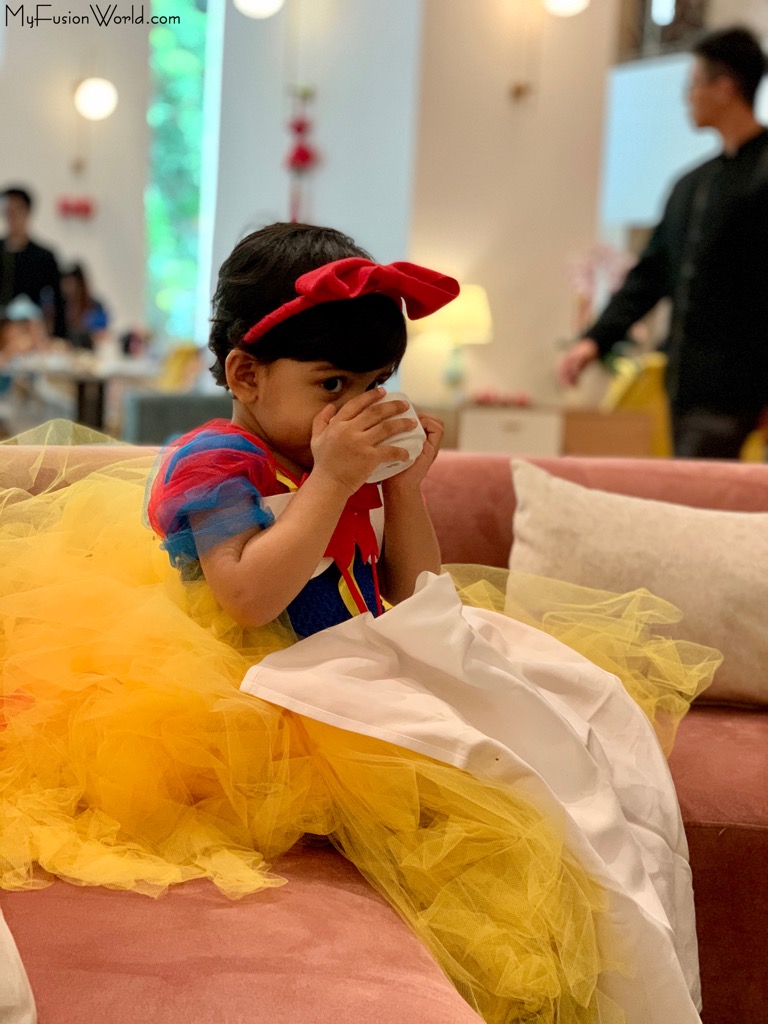
By using this procedure, you can make different tutu dresses… I made a Snow White dress and hair band for a princess theme tea party.

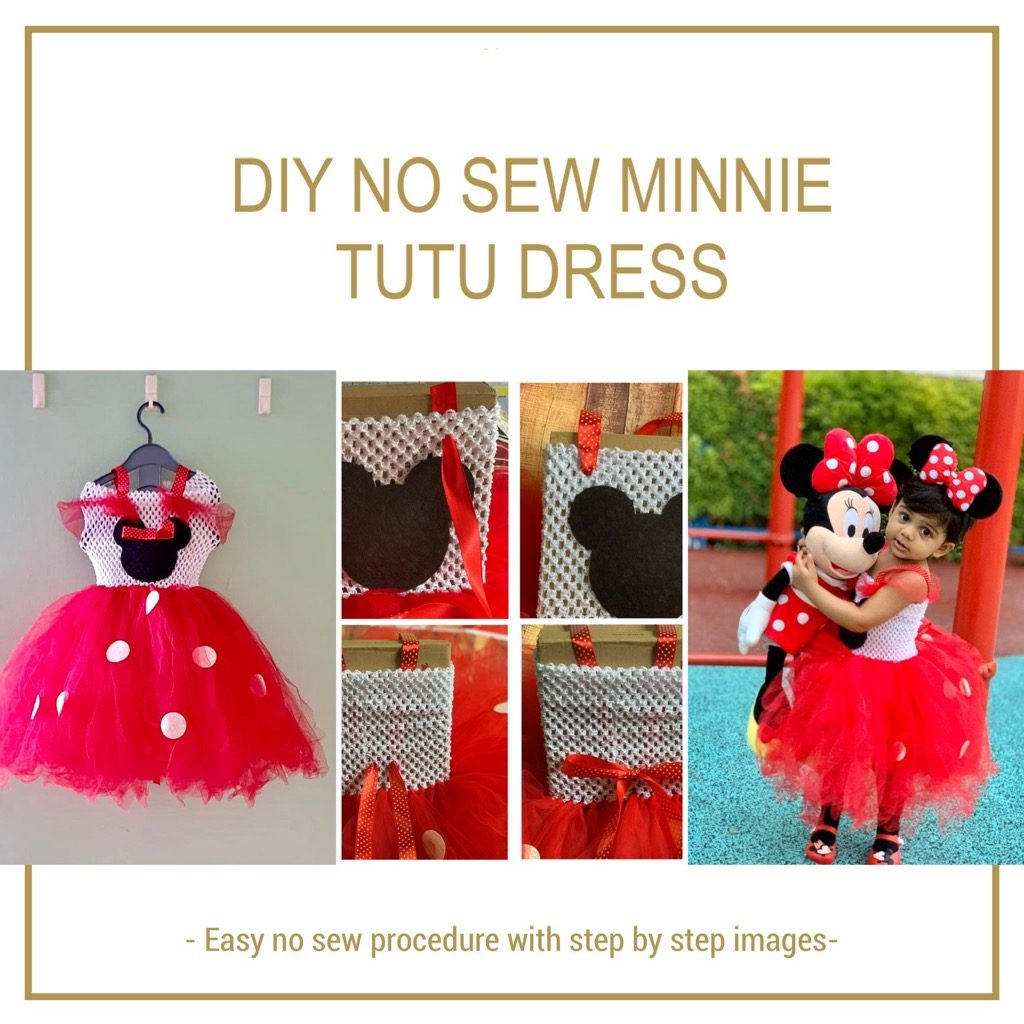
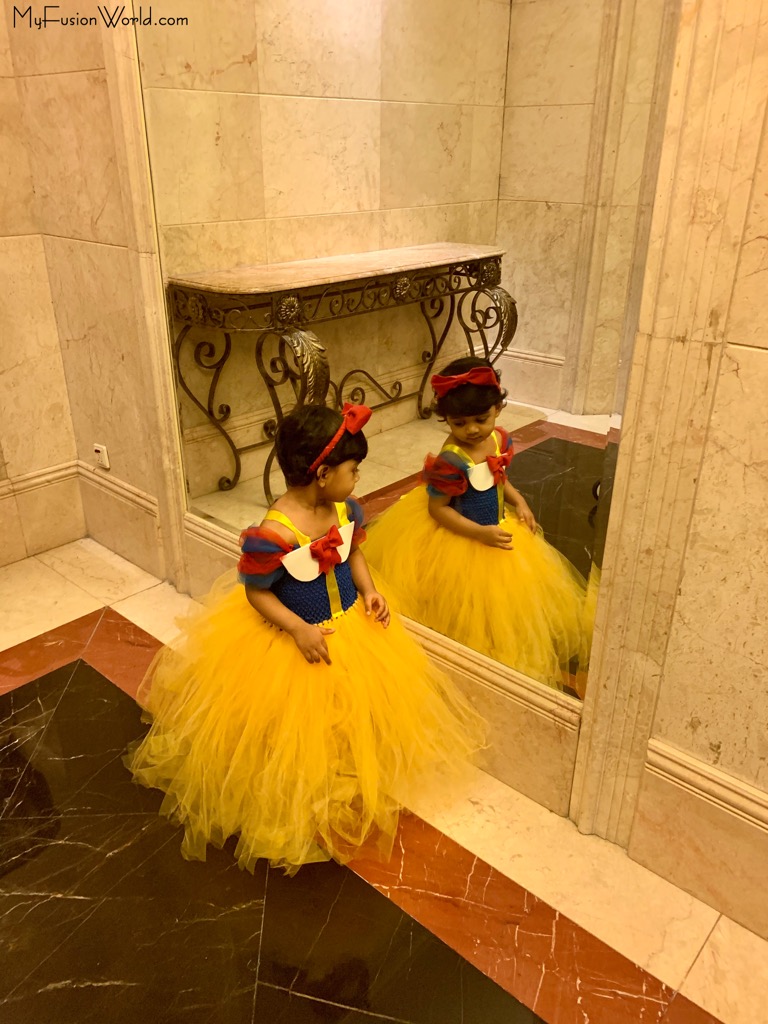
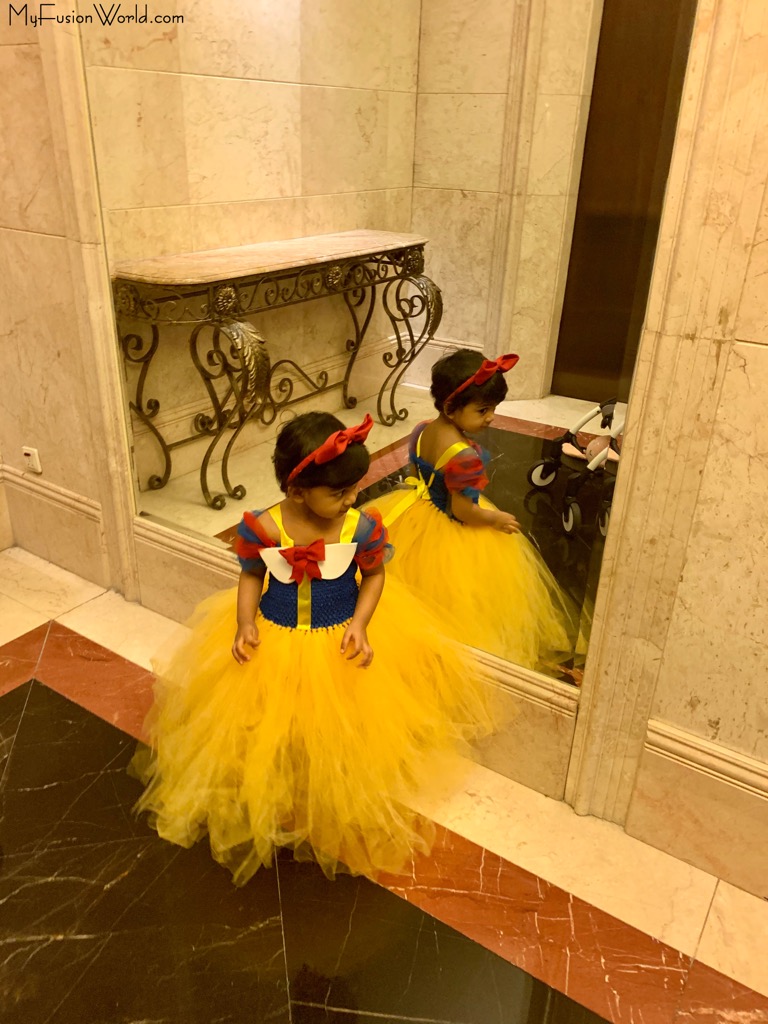
Wow…simply superb😘😘😘
THANK YOU 🙂